 |
| Artsy VS. brave – it's all about perspective, everyone! |
On a whim – and by "whim" I mean I have no idea what possessed me to attempt this particular activity today – I decided fingerpaints would be both a fun and necessary activity. And by necessary I mean it just sounded like such a good idea (to me) I didn't want to wait until we had proper materials in the house. Also, the boys were taking their sweet time with breakfast and I was a little bored, which is often a recipe for times like these.
And speaking of recipes... it turns out it's fairly easy to make passable fingerpaints out of common kitchen ingredients if you're like me and decide that fingerpainting sounds super-fun when you don't own any fingerpainting supplies (and also your boys are taking an especially long time with breakfast and you've already done everything you can think of to do in the kitchen). I went with the cornstarch version.
Suitable paper for fingerpaints was also not an item I had on hand – 8.5 x 11 bond is not up to the challenge in case you were wondering – but I did have some extra sheets of coated cardstock laying about from Easter since I was undecided about whether to go with blue and red or a more Easter themed blue and green when I printed up the bunny feet and such. Given it's smooth surface and heavy weight, it seemed suitable enough.
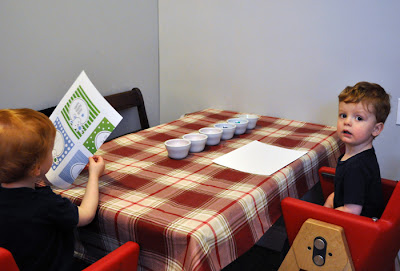
Of course, I didn't take into account how derailed things might get if anyone thought to look at the underside of their paper before we even got started.
 |
| – Is like art already make itself, everyone! Also look strangely familiar for some reason... |
After we recovered, the artists got down to work:
Both boys instinctively went with their usual paint-flinging technique, and while that works very well with a thinner paint, it's not so good with a thick paint. Seth eventually adapted his Jackson Pollock spatters into Jackson Pollock type dabs, but Nate remained firmly in the paint flinging camp until the very last sheet of paper (and even then it was pretty clumpy). No one really got into the messy paint-smearing aspect this time around – not even from the boy who prides himself on being messy.
• • • • • • •
Overall rating: Fun to make and is the appropriate consistency for fingerpaint, although heavy paint areas will crack when dried. Since I haven't personally used proper fingerpaints in over 35 years, perhaps the same is true with the real deal as well. The recipe yields roughly 2 cups of paint which is more than plenty for two artsy boys and left-over paint can be stored for later use. Bonus points: thick paint means you can easily spoon off any color cross-contamination. I ended up putting our leftover paints in a mini-muffin pan which fit nicely into a large freezer bag (which is the picture at top minus the freezer bag).
And just in case you're perpetually unprepared like me and don't have actual fingerpaints handy when inspiration strikes, the recipe is below.
Click to embiggen (although you'll also now need to right-click/CMD click image and select "open in new window" if you'd like to read it proper). As always, I've formatted the end result for printing should you manage to navigate your way there.
- L.


The vaseline caper wasn't entirely wasted - I see Seth looks much cooler with his hair gelled. You might have put the vaseline to double duty by adding food coloring to it for the finger painting - yuk! Love Gamma Rita
ReplyDelete